6 May 2026 · Çetintaş Kahve Ekipmanları · 2 min min read
Step-by-Step Blow-Line Coffee Transport Installation Process
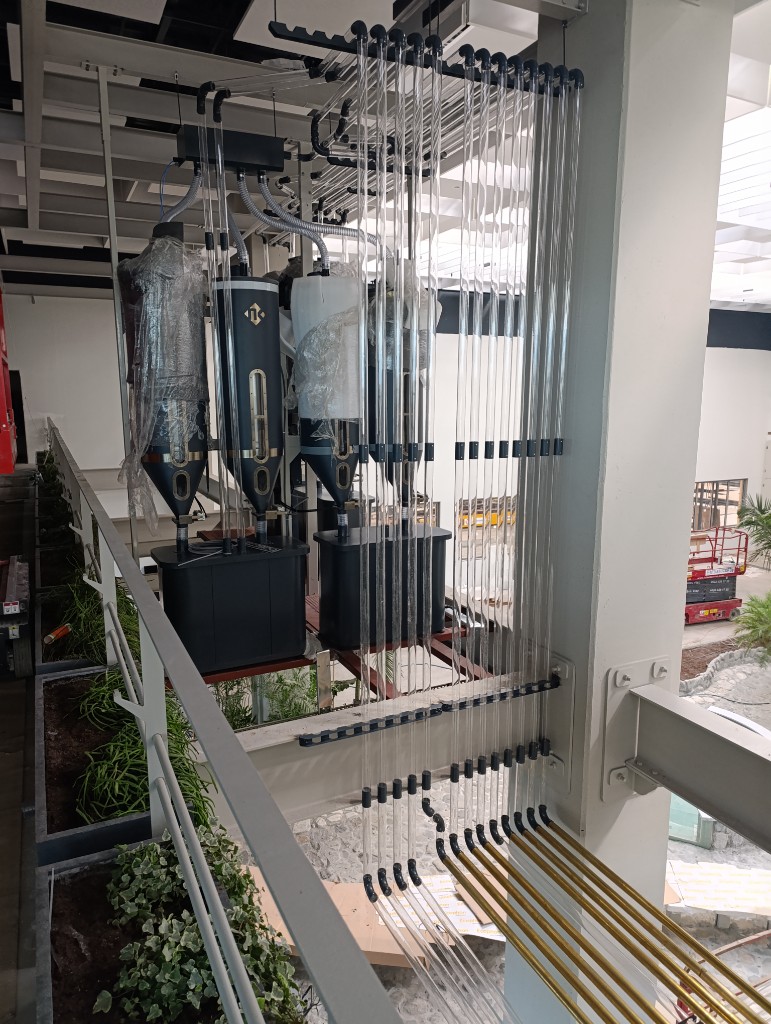
Installing a pneumatic conveying line is not a standard pack-and-ship job — it is engineering tailored to the venue. Work starts by surveying ceiling height, beam crossings, column layout, and distances to the bar or roaster.
This guide summarizes installation stages for a pneumatic coffee transport line from survey to live testing.
Survey and Route Planning
Survey measures ceiling height, structure, power and compressed-air points, and positions of coffee silos and the roaster. Elbow count and vertical/horizontal distance set blower power and pipe diameter. Unnecessary bends waste energy and increase wear — keep the route as clean as possible.
Installation Stages
- Silo and diverter placement: Fix storage silos and the divert panel where they least disrupt operations.
- Pipe hangers: Mount aesthetic clamps along ceiling and wall with laser leveling.
- Blower and acoustic housing: Place the air unit in an insulated cabinet that keeps noise low.
- Sensors and automation: Wire level sensors, divert valves, and the touch HMI.
- Dry and product tests: Prove the line on empty airflow first, then run beans while calibrating rate, speed, and accuracy.
Commissioning and Handover
Live tests cover origin changes, full-silo scenarios, and emergency stop. Operator training and a maintenance checklist are part of handover. Send venue photos or architectural plans to start the survey immediately.
Frequently Asked Questions
Read Full Article
Integrating roaster, silos, and pneumatic line as one system — level sensors, flange match, and cross-contamination control.
Discover how to optimize material flow in modern coffee roasting plants with line automation, modular design, and pneumatic systems.
Food safety, oil build-up, and periodic maintenance on clear pneumatic coffee lines — a hygiene protocol for roasteries and cafés.